Causing a scene on Facebook because the neighbours think you're burning off.
Since moving into my place in the hills nine years ago I’ve been interested in smoking large chunks of meats. Over the years I’ve had varying levels of success, but the common concept theme throughout has been the use of second-hand or downright hillbilly smokers.
I’ve had a red-hot crack at smoking briskets before; however, these have been on my manual charcoal smoker, which is a needy and temperamental unit. Consequently, I’ve not had the best results.
Thankfully, I was able to pick up a Pit Boss Navigator 850 second-hand. This is a pellet grill - fill the hopper, set the temperature, and come back in a few hours. Job done.
The meat #
Brisket comes from the chest area of the cow, meaning it’s a tough meat which needs to cook low-and-slow to soften it up and get the flavours out. It also comes in two distinct components: the flat, and the point. This isn’t a crash-course in bovine anatomy: if you’re interested further, ol’ mate Googs has you covered.
The important thing is you want to get a decent cut of meat, from a happy cow who lived a great life. I use Cape Grim beef for this. You’ll need to trim off any hard chunks of fat, trim off any excessive fat, and shape the meat to suit. I.e., don’t leave thin, flappy bits on that will burn up during the smoke.
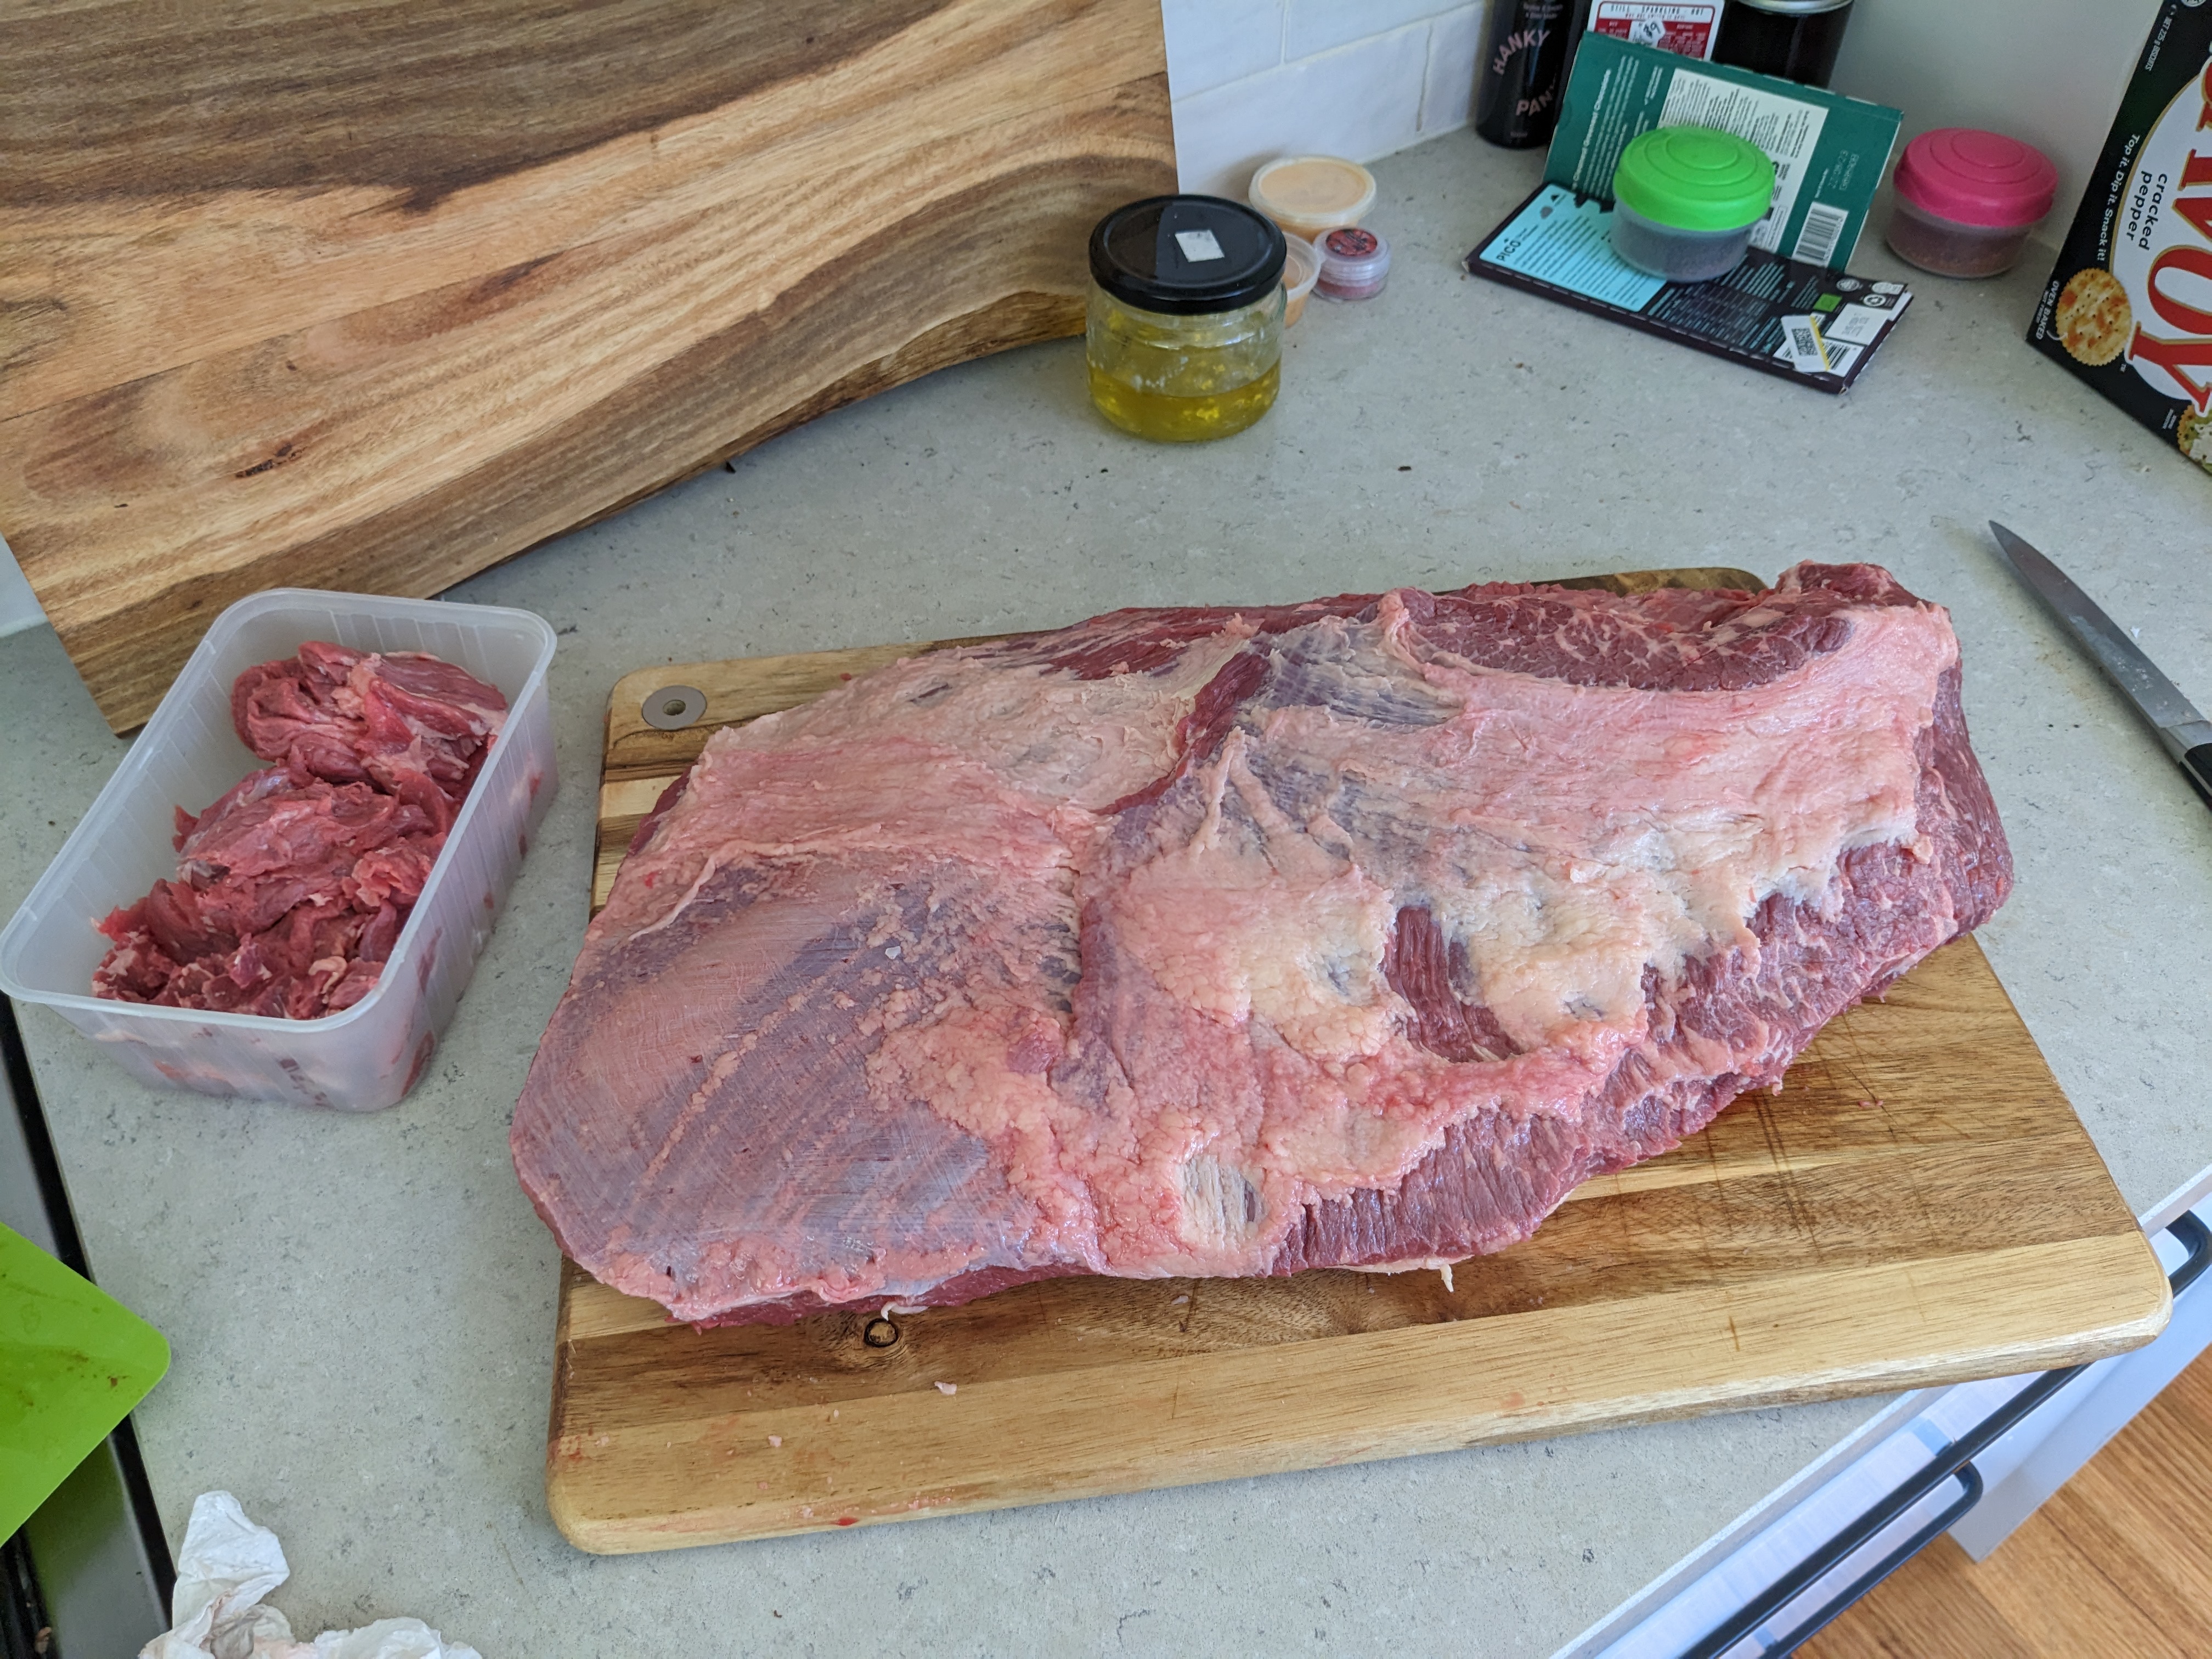
Save the trimmings: word on the street is you can make mad burger patties out of them.
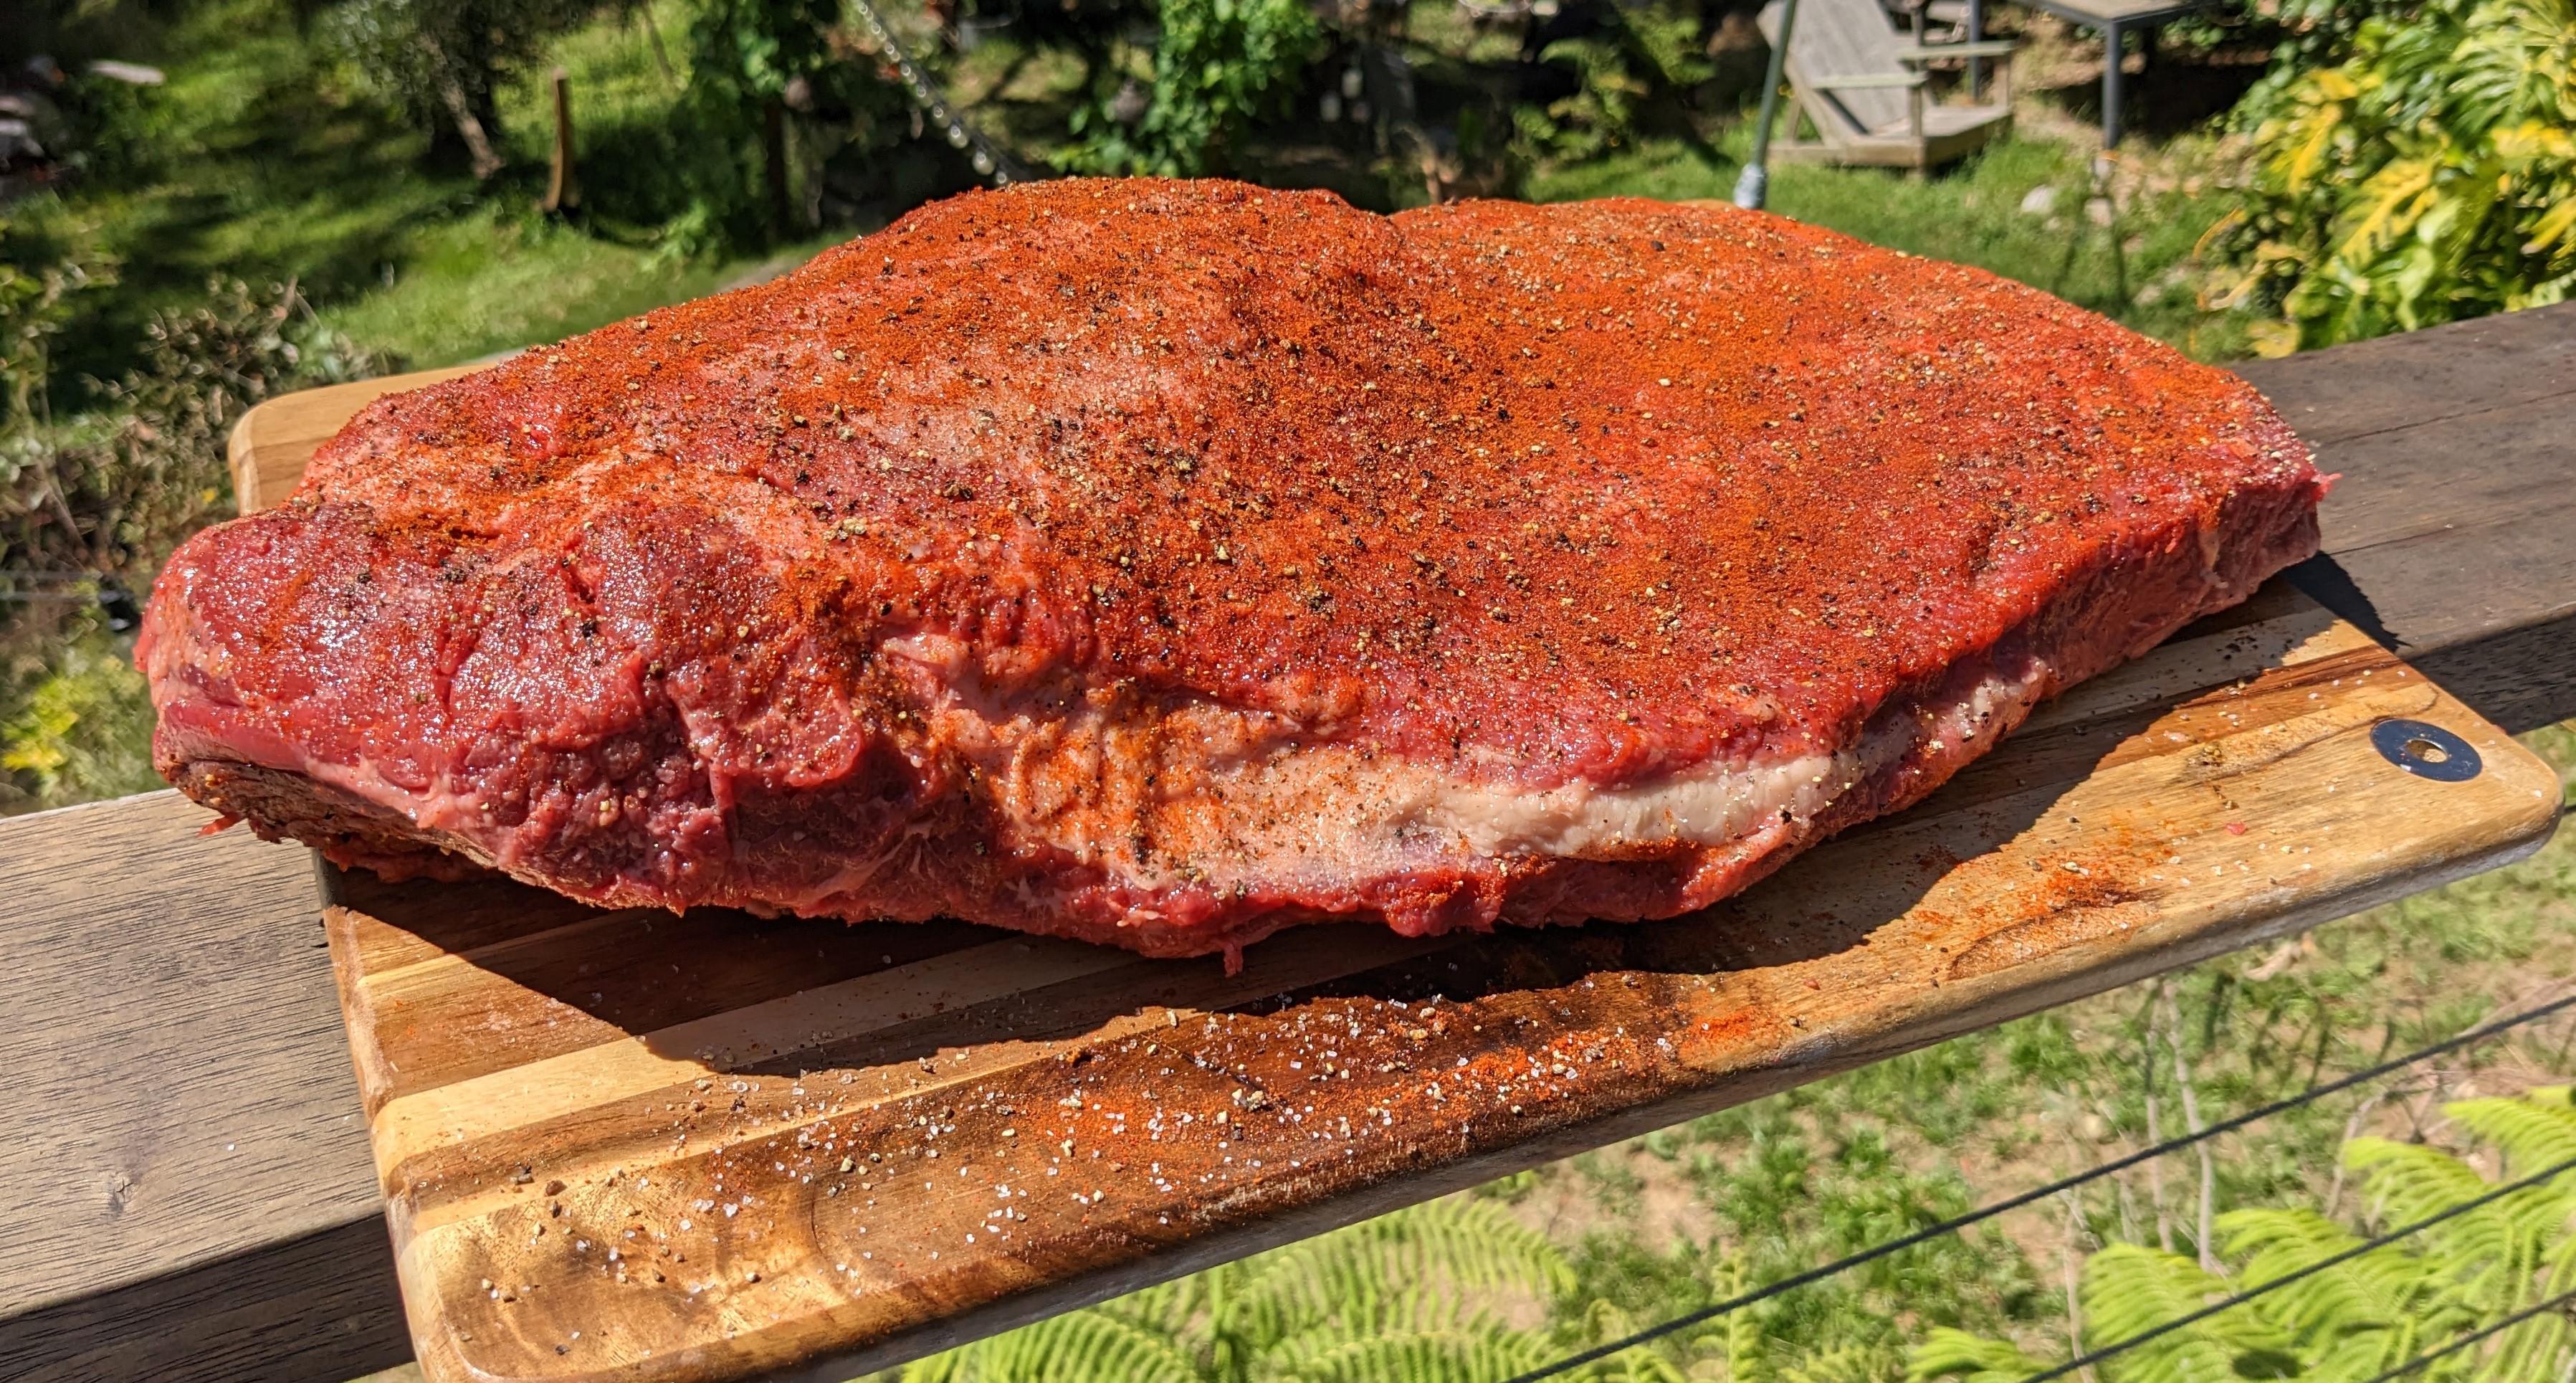
Give your meat a good old rub #
I will typically use a basic mix of salt, pepper, and paprika for my meat rub. There’s lots of different schools of thought around what you should and shouldn’t put on a brisket: do whatever you want, it’s your meat.
If you’re following on at home, this is my process:
- Rub some olive oil into the meat. This acts as a binder to help the larger spices stay on the meat during smoking.
- Sprinkle salt to taste. Adding the larger kosher salt crystals first helps them bind.
- Sprinkle pepper to taste.
- Add on your remaining spice mix - sweet/smoked paprika, in my case.
Ready, steady, cook #
Here’s where I forgot to mention you need to pre-heat your smoker to 110 degrees celsius. So, yeah…go and do that.
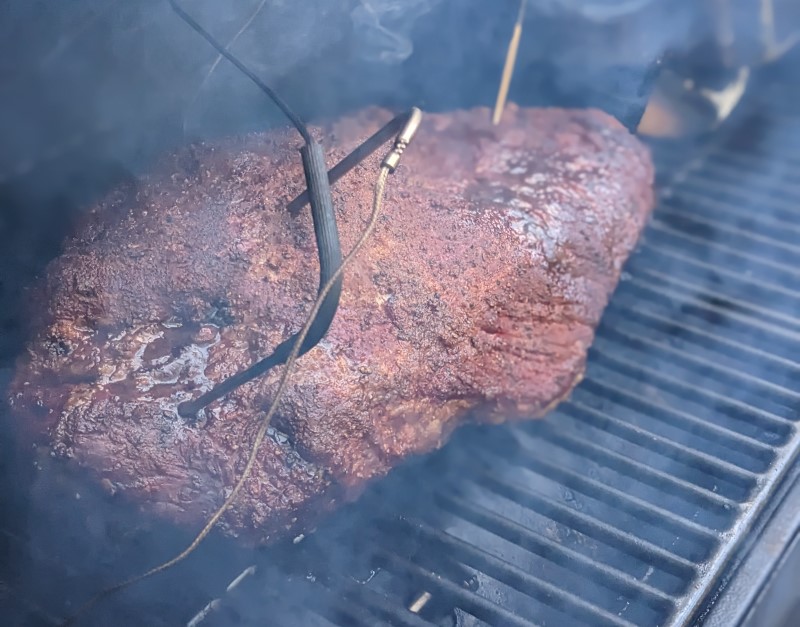
To combat the lack of smoke made by a pellet grill as compared to a charcoal smoker, I’d bought a smoking tube in an attempt to supplement the pellet smoke. This was a lot of mucking around to get the tube lit and burning consistently: I found the best result was to elevate and angle slightly using a smoking chunk, and light the chips via a firelighter.
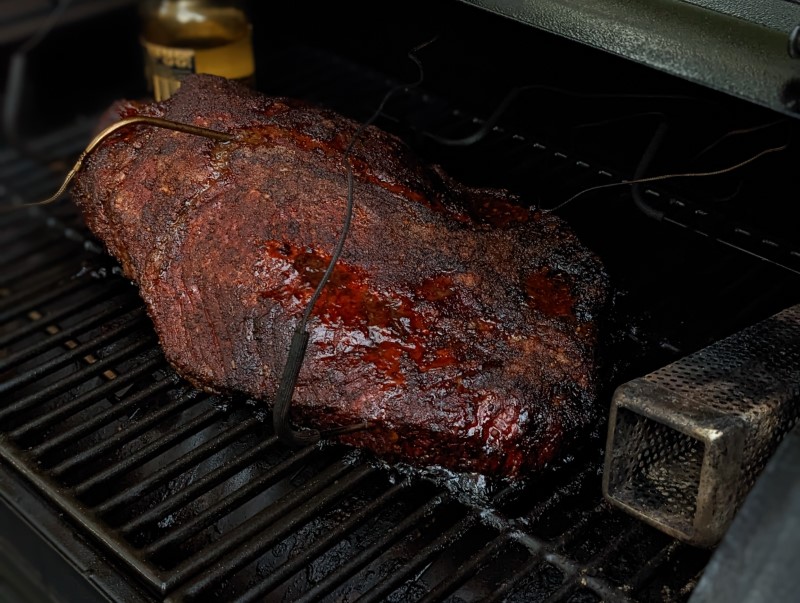
For the first six hours of the smoke, the meat was spritzed every hour with a 50/50 water and apple cider vinegar mix, to help keep the meat moist. There are some who believe this impacts the bark development too much, but the benefit is you don’t end up with a crispy and burnt chunk of expensive meat.
The stall #
Many people talk about “the stall” and ways to combat it: wrap it, soak it, kill it with fire… I’ve tried wrapping before, but since this was going to be an overnight job I figured I’d let it naturally run out the stall. I have to say, I think this is the best outcome: while the temperature stubbornly refuses to climb during the stall, the bark continues to develop and the fat continues to render down. For me and this 6.7 kgs brisket, the stall lasted for seven hours.
One way to mitigate the effects of the stall is to add a water pan to the smoker, to increase the ambient humidity. I added this in several hours into the stall, mostly just to see what would happen. I used a pickle jar with remnant pickle juice, topped up with water.
Is it done yet? #
Checking if brisket is done is an inexact science and largely dependent on experience both with smoking in general, but more specifically how your own smoker tends to behave with meat. There’s a few general rules to tell when a brisket is done though:
- It probes like butter. By this, I mean when you stick a temperature probe in there is absolutely zero resistance.
- It looks done. This is harder to tell and often comes down to experience, but if the bark has sufficiently developed and it just looks done you’re good to go.
- Internal temperature. This one is less important, but as long as the internal temp is at or above 96 degrees celsius, you’ll be fine as long as it the meat probes like buttter!
It was a few hours into this smoke that the local residents group seemed to be objecting to the smell of smoke in the air, thinking someone was doing a burnoff at 11 p.m. I guess that means the smoking tube worked?
Resting #
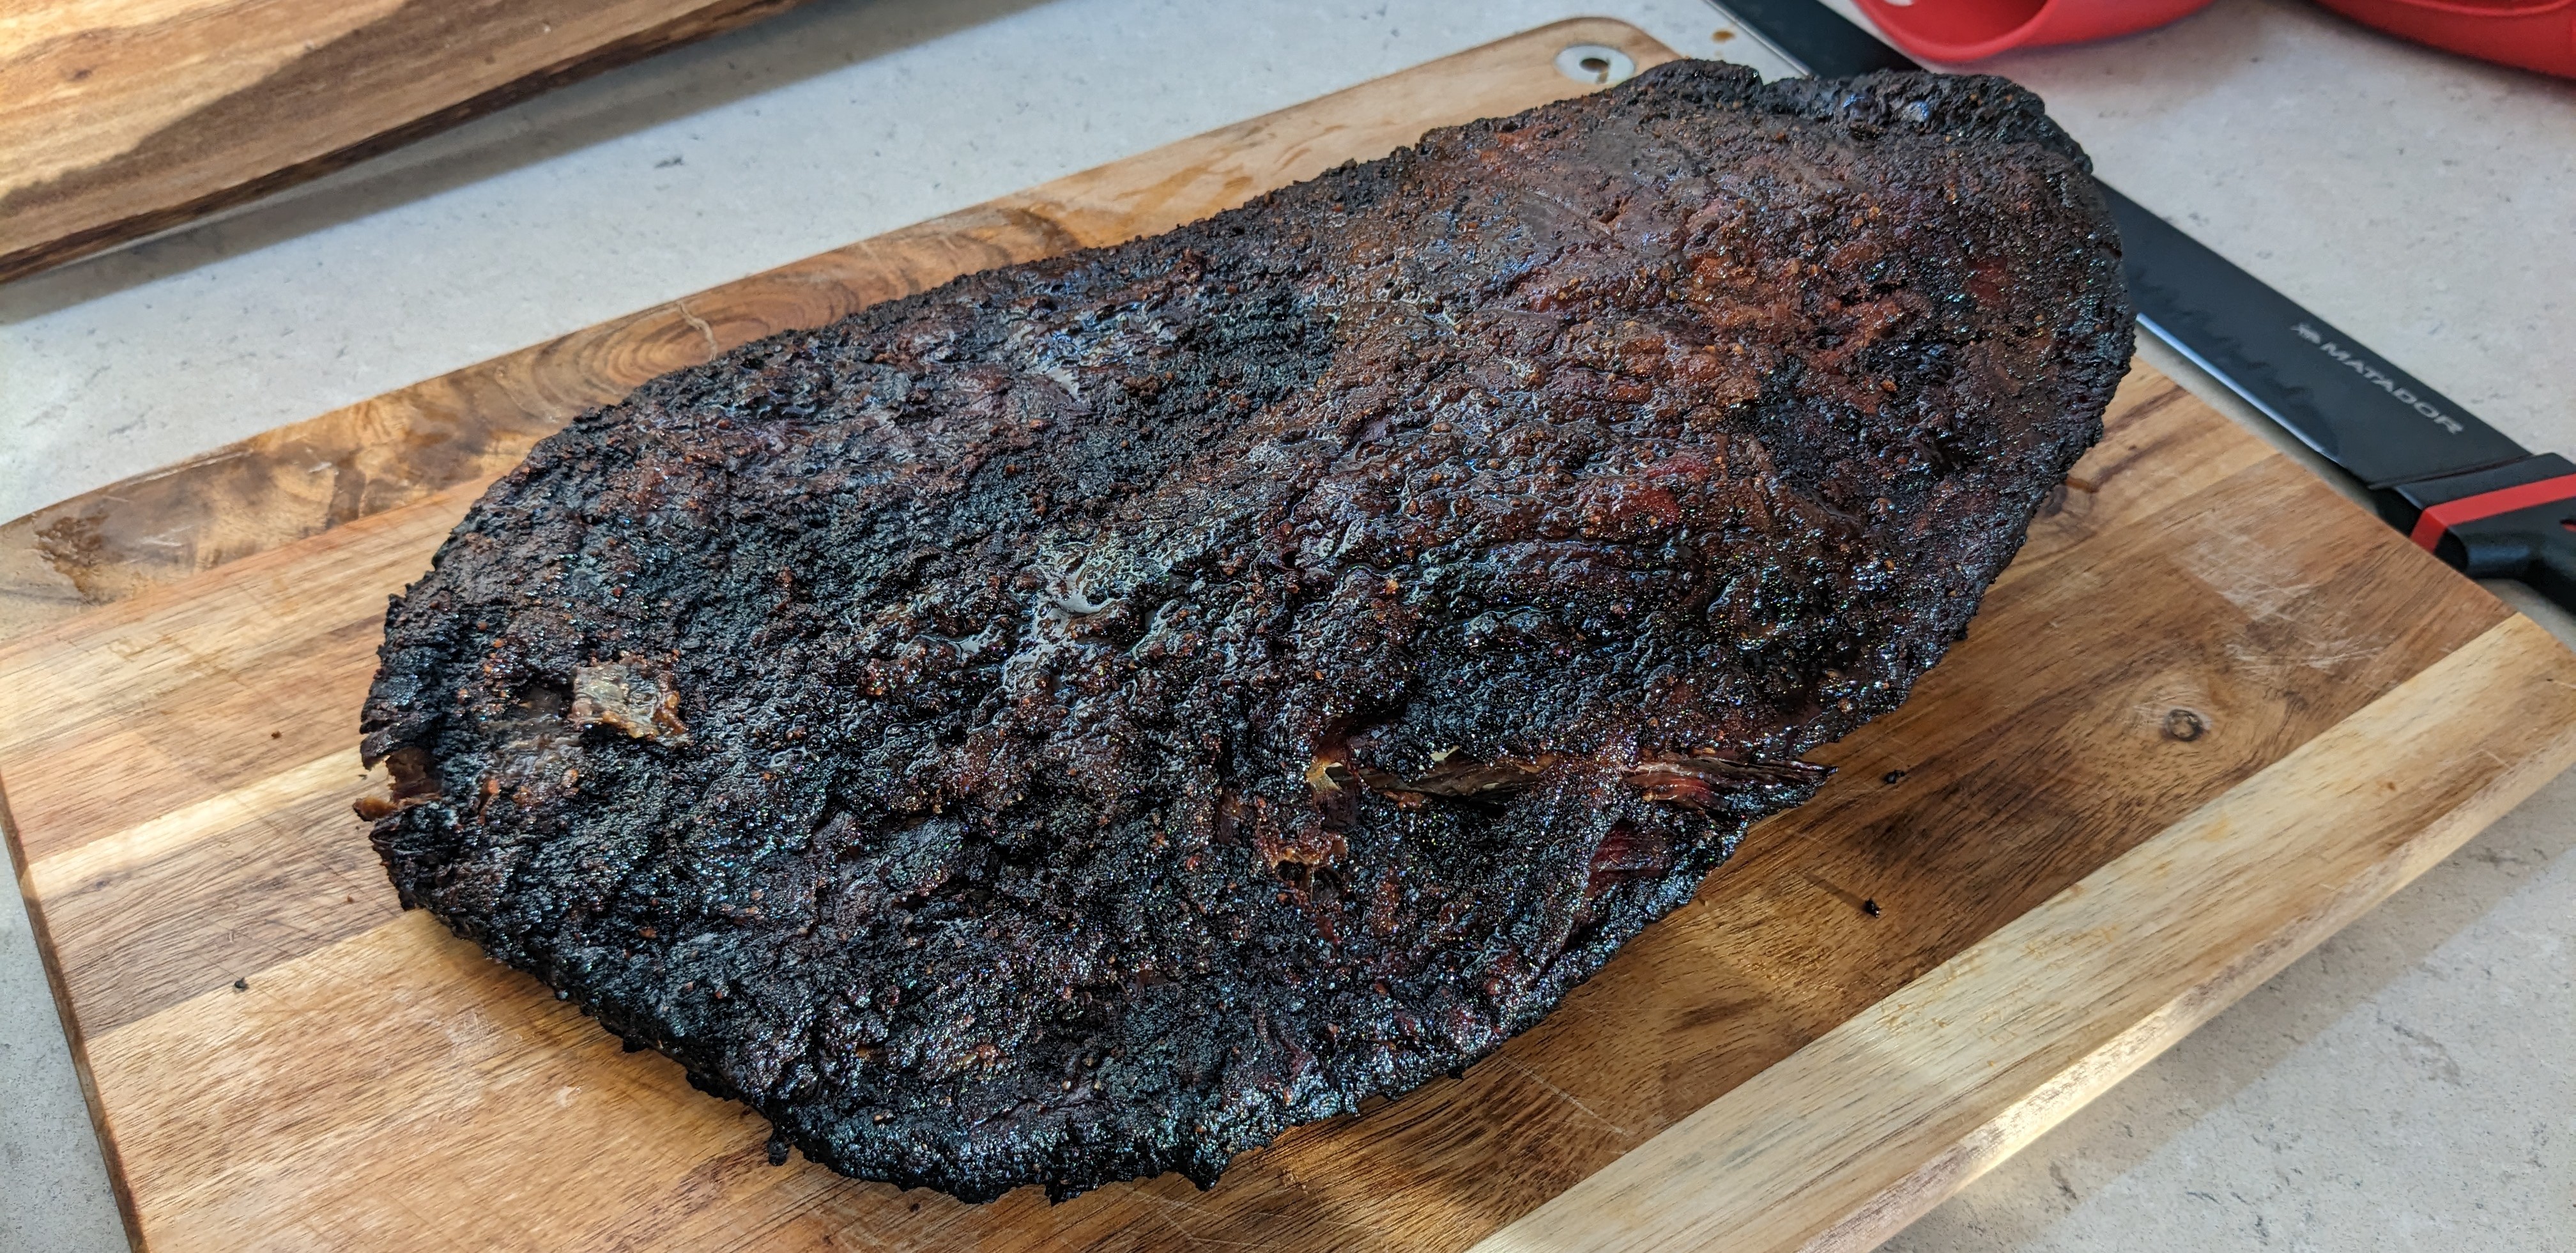
Once I was satisfied that the damn thing was cooked - this was about 2 a.m. by this point - the brisket was wrapped in butchers paper and placed on a baking tray. By this point the meat had contracted in size by about 30%, due to the cooking process.
The oven was turned on to 60 degrees celsius, the baking tray was wrapped in a layer of thick aluminium foil, and placed in the oven to slowly arrest cooking for an hour. At 3 a.m., he oven was turned off and I went to bed exhausted.
The brisket was taken out of the oven at 7 a.m. the next day, cut into point vs. flat, and refrigerated.
The result #
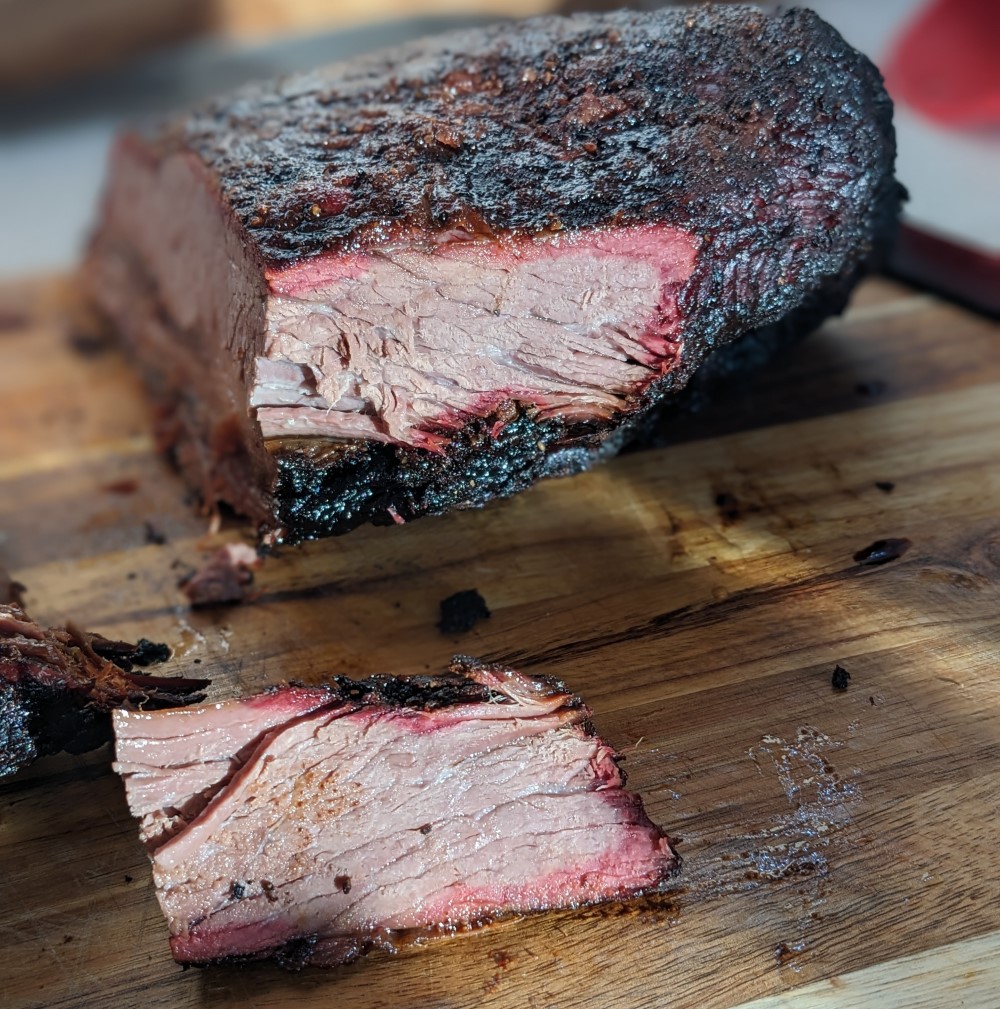
The end result was pretty good, a solid 9 out of 10 on the Happy Fatso scale.
Total smoke time was just over 15 hours.